| [Crop] [Gutter] [Bent lines] [Dirt] [Curves] [Resize & Unsharp] [PNG Save] |
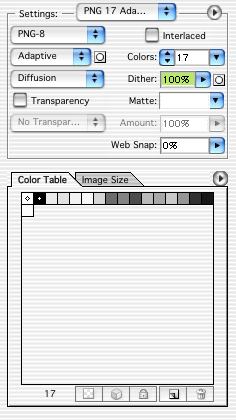
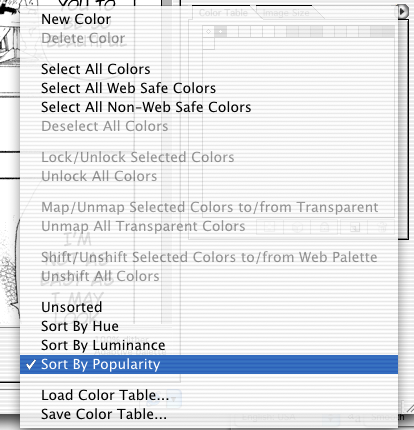
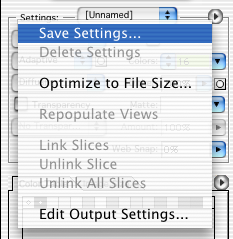
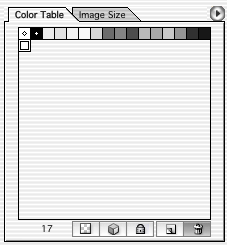
| In order to make the png, use Save For Web. Pick it from the File menu. Select the Optimized tab. The settings to use are like the picture on the right. Use PNG-8 for format, Adaptive for palette, Diffusion for dither type, and Dither at 100%. 17 Colors; Interlaced off; Transparency off, White Matte, and 0% Web Snap. (These last two aren't important; this is just the default.) Sort the color table by Popularity, as in the picture further right, and save the setting as something descriptive (I use "PNG 17 Adaptive Dithered.") |
|
|
|
|
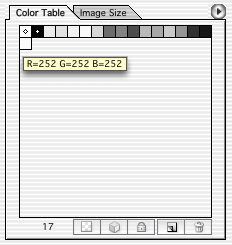
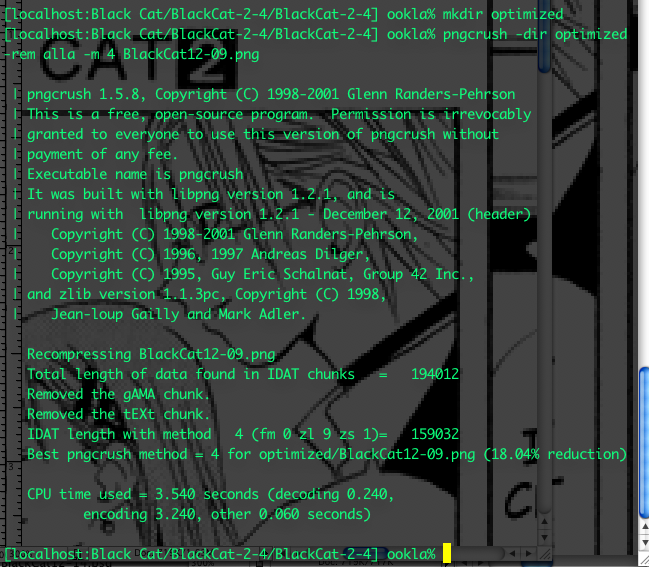
| The optimized png will then appear. Don't be alarmed if the predicted
size shown on the lower left seems a bit high. Photoshop (and Imageready)
do not use a very optimized routine for compressing and saving their pngs.
Later I'll talk about how to use pngcrush to fully the pngs. You often will not need to keep all of the colors in the color table. I've found that usually the picture will do just fine without colors with values higher than 248 or lower than 18. A common color that will be recommended is 251—in this picture, it recommends 252. Since the table is sorted by popularity, this indicates that 252 is the least-used color of all 17 indexed colors. If you've followed cleanup steps correctly, the image's whites should be white (255) and blacks should be black (0), so there's generally no need for a color that's close to extremities. Click on that color and drag it to the trash. Your final image may thus be a 16 or 15 or even 14-color image instead of 17. When you trash a color the palette menu will switch itself to "Custom" instead of "Adaptive." |
|
|
| [Crop] [Gutter] [Bent lines] [Dirt] [Curves] [Resize & Unsharp] [PNG Save] |